Whatcha Need
- large microwave safe bowl or container
- plastic garbage bag
- selection of Kool Aid envelopes
- plastic coat hanger
- microwave
- wool to dye
- rubber gloves
- old crappy towel
- rag
Step One
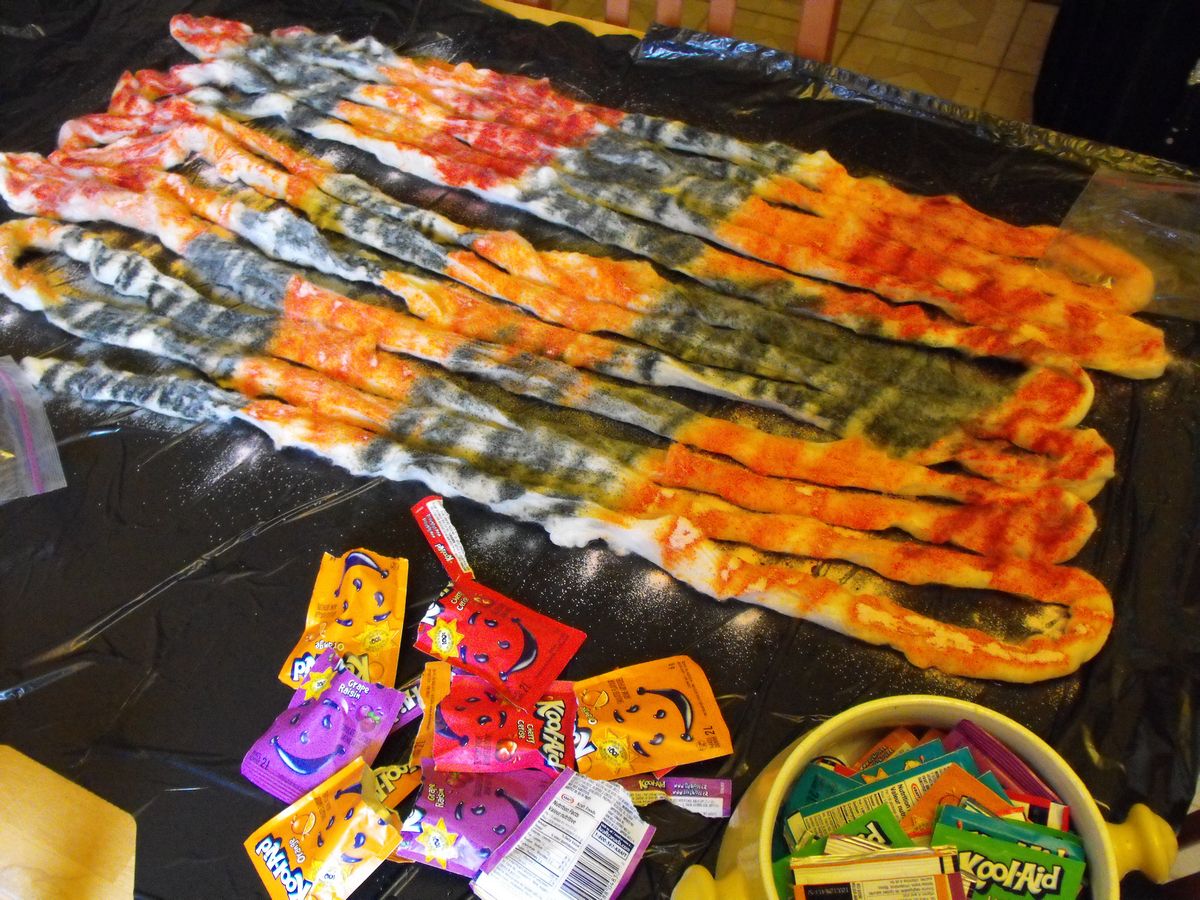
Submerge the wool in a container of cool water. Make sure wool is soaked through. Drain water, squeeze off excess water and lay out as pictured on plastic garbage bag.
 |
| Merino wool and Kool Aid envelopes |
Open packets of Kool Aid in your chosen colours and sprinkle on your wool. Don't mix the colours over one another too much as you can muddle the colours and end up with brown.
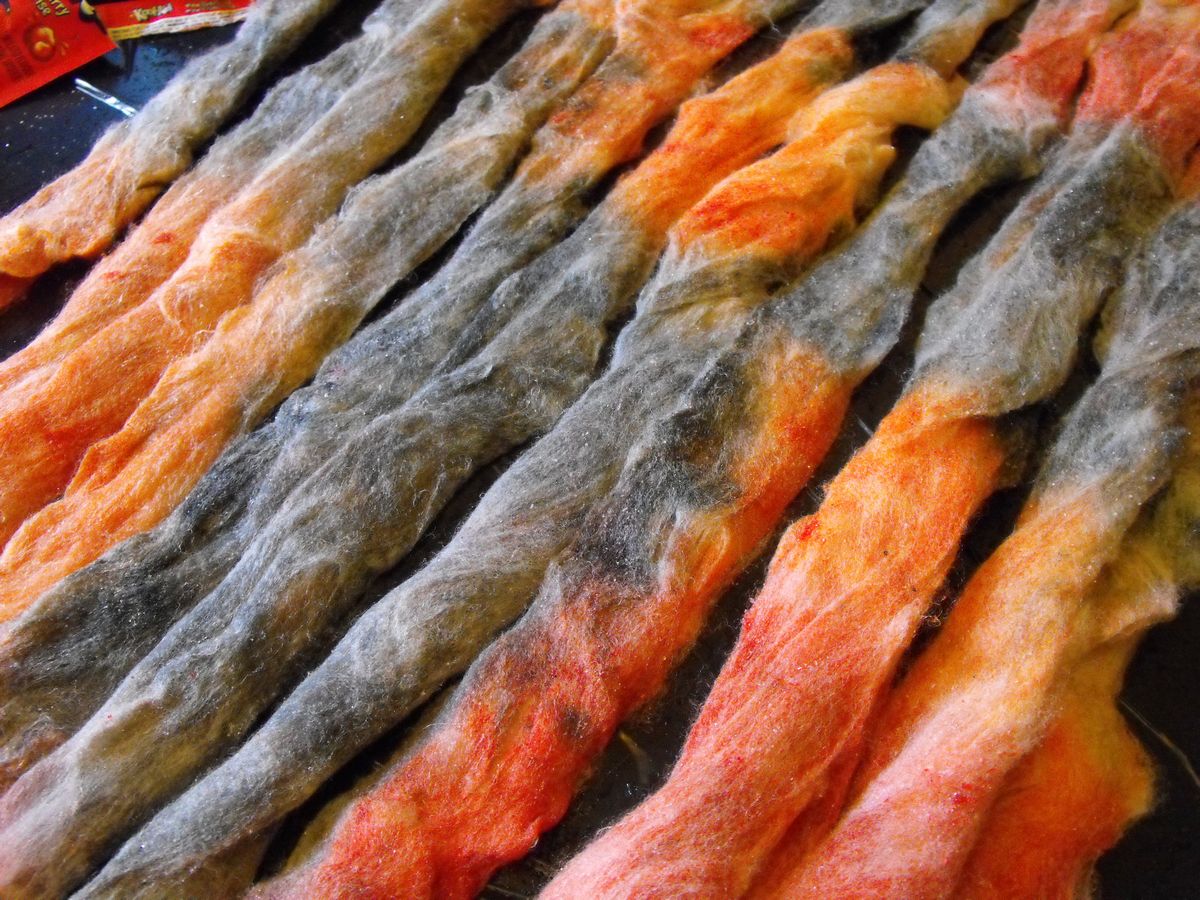
 |
| Experiment with different colours, its lotsa fun! |
Put on your rubber gloves and gently rub Kool Aid into the wool so that it dissolves and disperses the colour. At this point you may want to turn the wool over to the other side and repeat steps 1-3. Sometimes I leave it as is for less intense colour.
Step 4
Heat the wool in your microwave safe bowl on high for approx 5 min or until the wool is completely heated through. Should be steamy when you pull it out of the microwave.
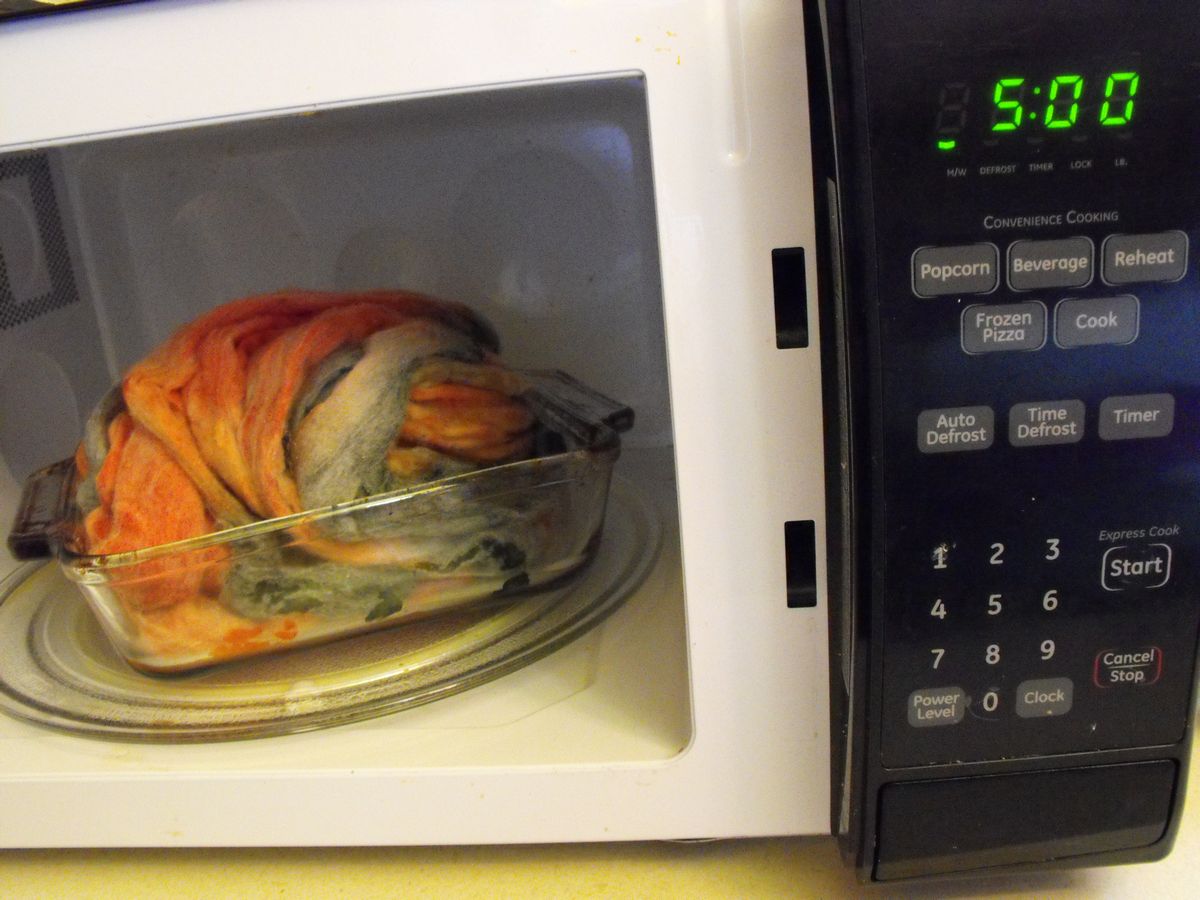
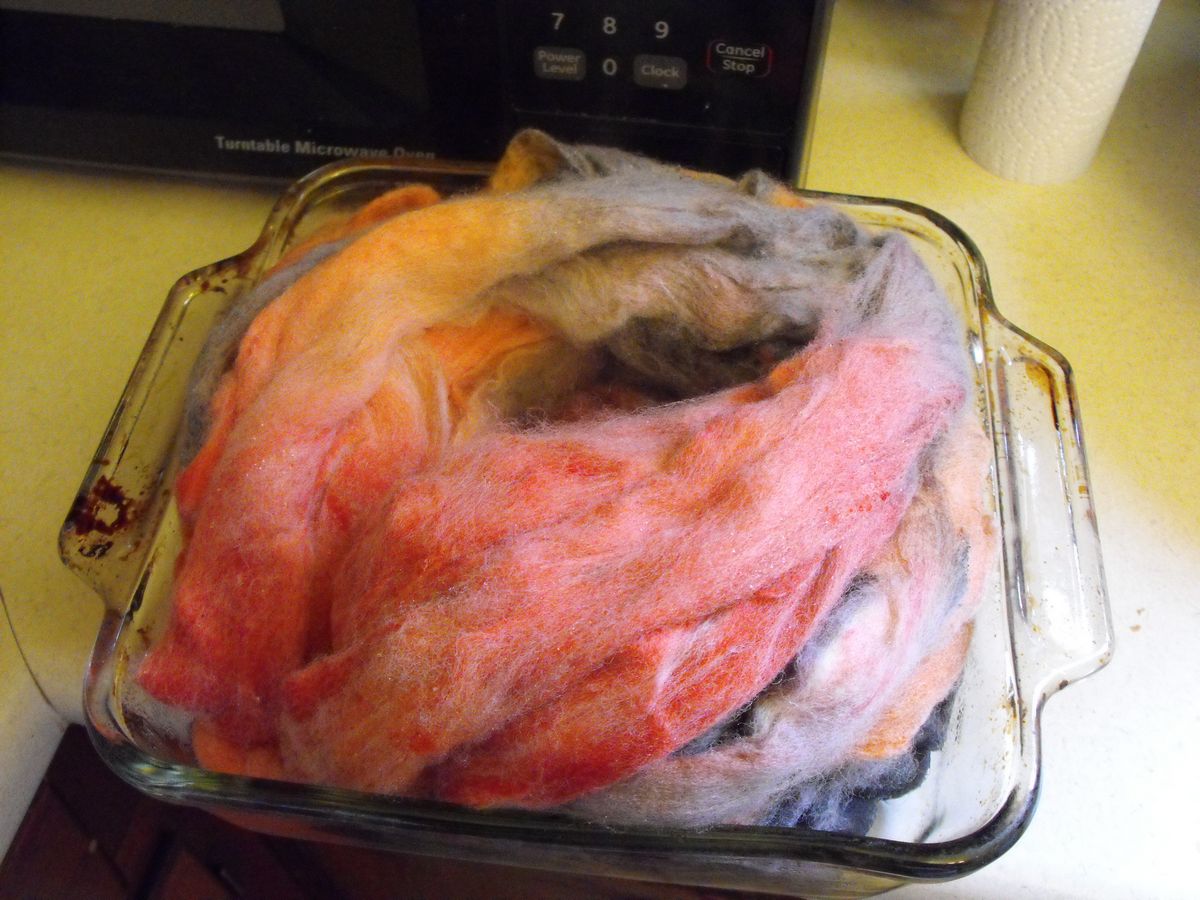 |
| Steamin' pile of Merino |
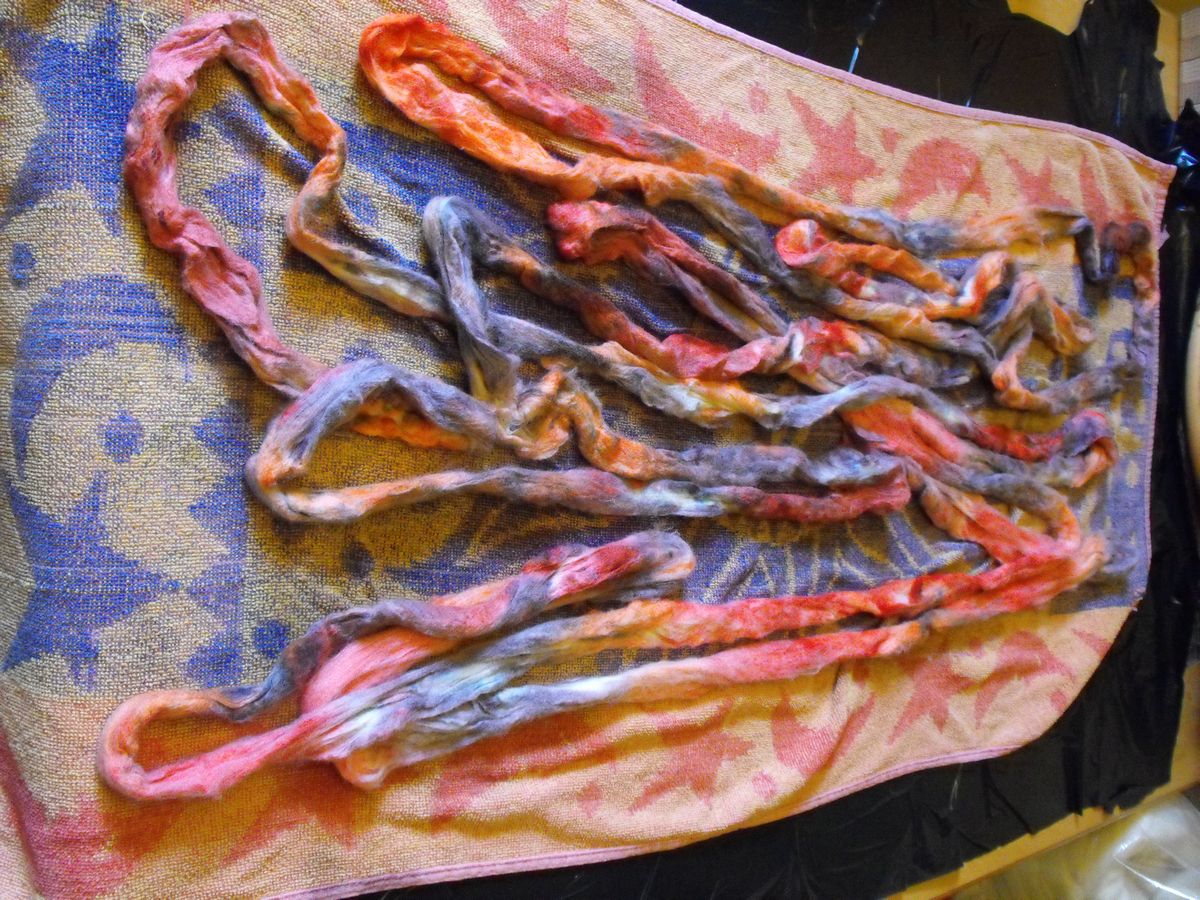
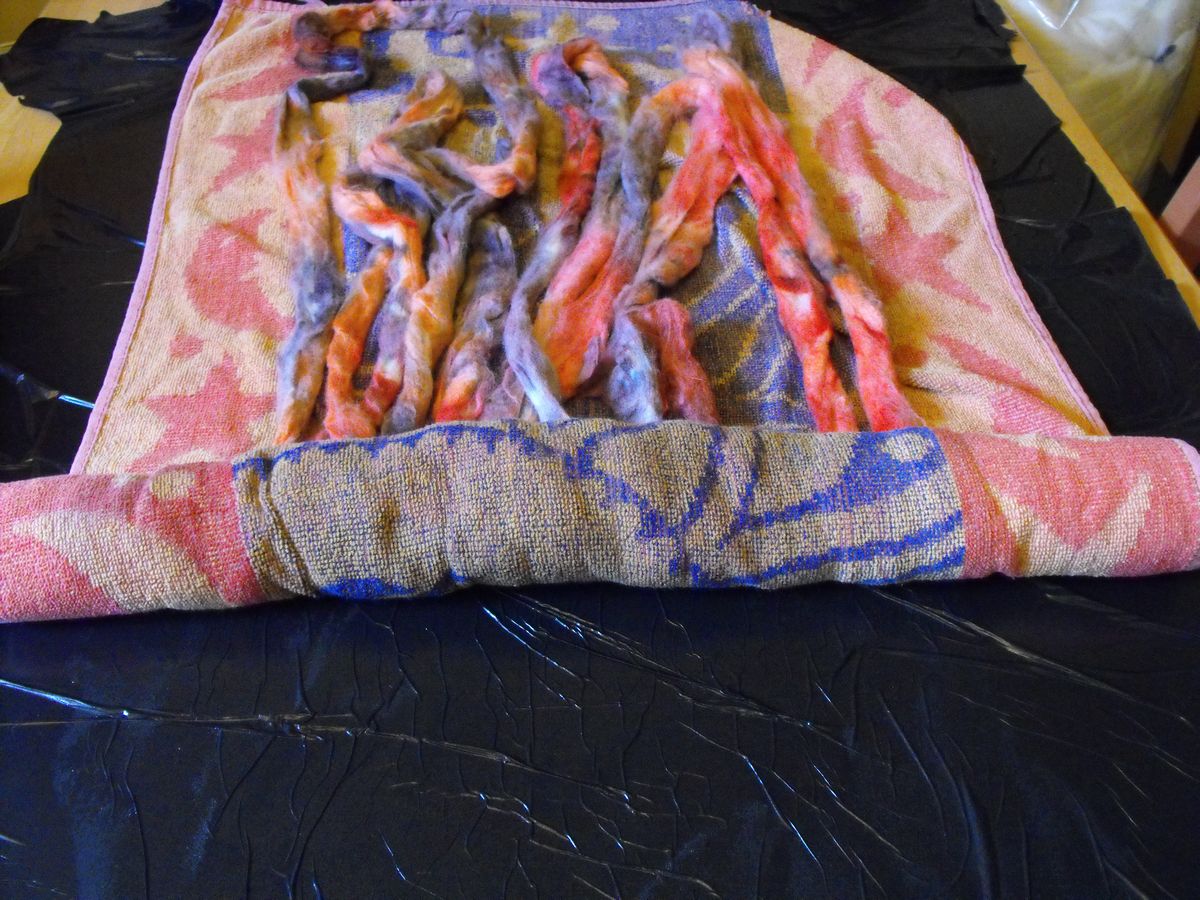
When wool has cooled enough to safely hold in your hands, squeeze out excess water into the sink. Lay out the wool as before but now onto an old towel. Not much of the dye will leak out at this time, but use an old towel just in case! Now roll in the towel and press.
Drape wool over the plastic coat hanger and hang on the shower curtain rod, away from fabric, and allow the wool to air dry. Open a window if possible to improve air circulation. Once in a while squeeze excess water that settles into the ends of the wool. Ready to spin when thoroughly dry!

Share your Kool Aid dyed wool with Close Knit readers by posting links in the comments below.
xxLadeeBeexx
