Showing posts with label Kool Aid. Show all posts

Tuesday, April 26, 2011

Six Steps to Kool Aid Dyed Wool - A Tutorial

Whatcha Need
  • large microwave safe bowl or container
  • plastic garbage bag
  • selection of Kool Aid envelopes
  • plastic coat hanger
  • microwave
  • wool to dye
  • rubber gloves
  • old crappy towel
  • rag


Step One
Submerge the wool in a container of cool water. Make sure wool is soaked through. Drain water, squeeze off excess water and lay out as pictured on plastic garbage bag. 
Merino wool and Kool Aid envelopes
 Step Two
Open packets of Kool Aid in your chosen colours and sprinkle on your wool. Don't mix the colours over one another too much as you can muddle the colours and end up with brown.
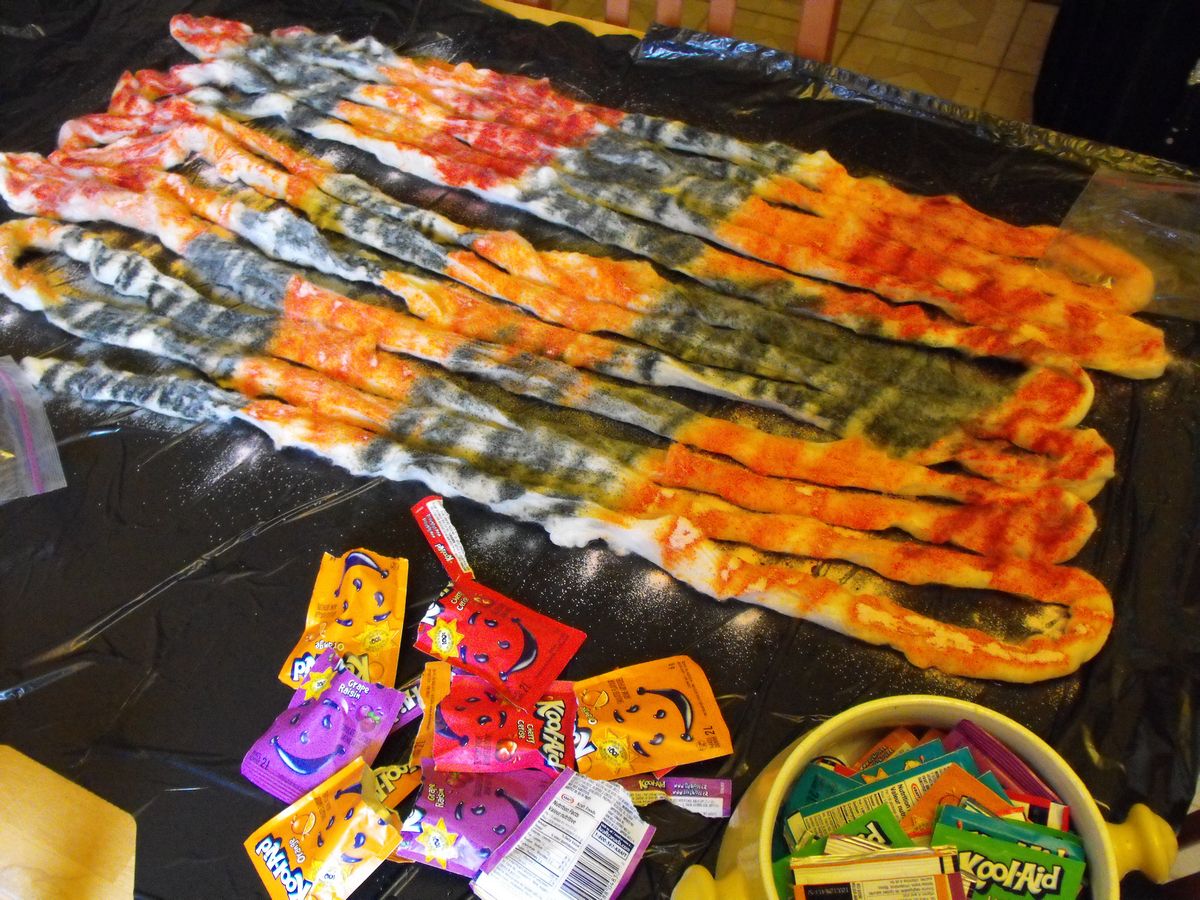
Experiment with different colours, its lotsa fun!
 Step 3
Put on your rubber gloves and gently rub Kool Aid into the wool so that it dissolves and disperses the colour. At this point you may want to turn the wool over to the other side and repeat steps 1-3. Sometimes I leave it as is for less intense colour.

Step 4
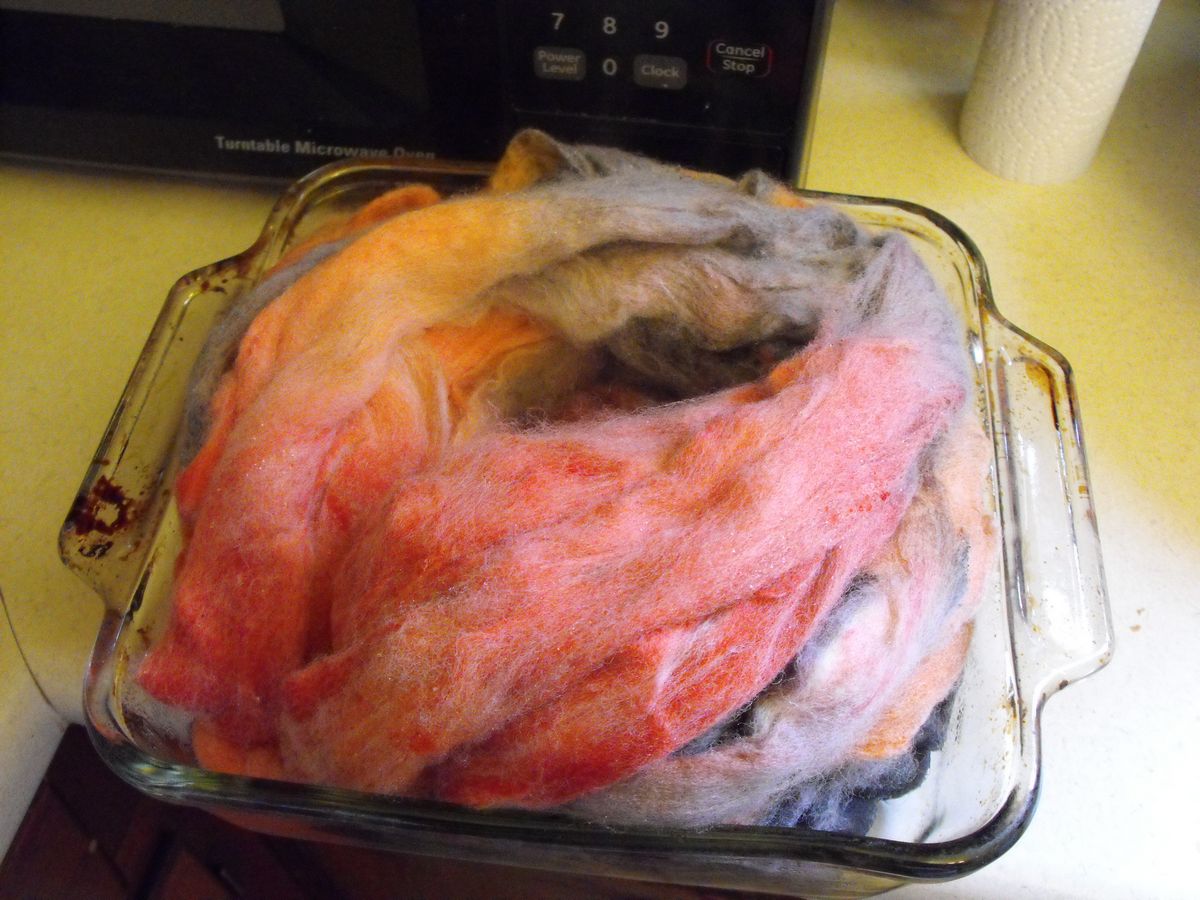
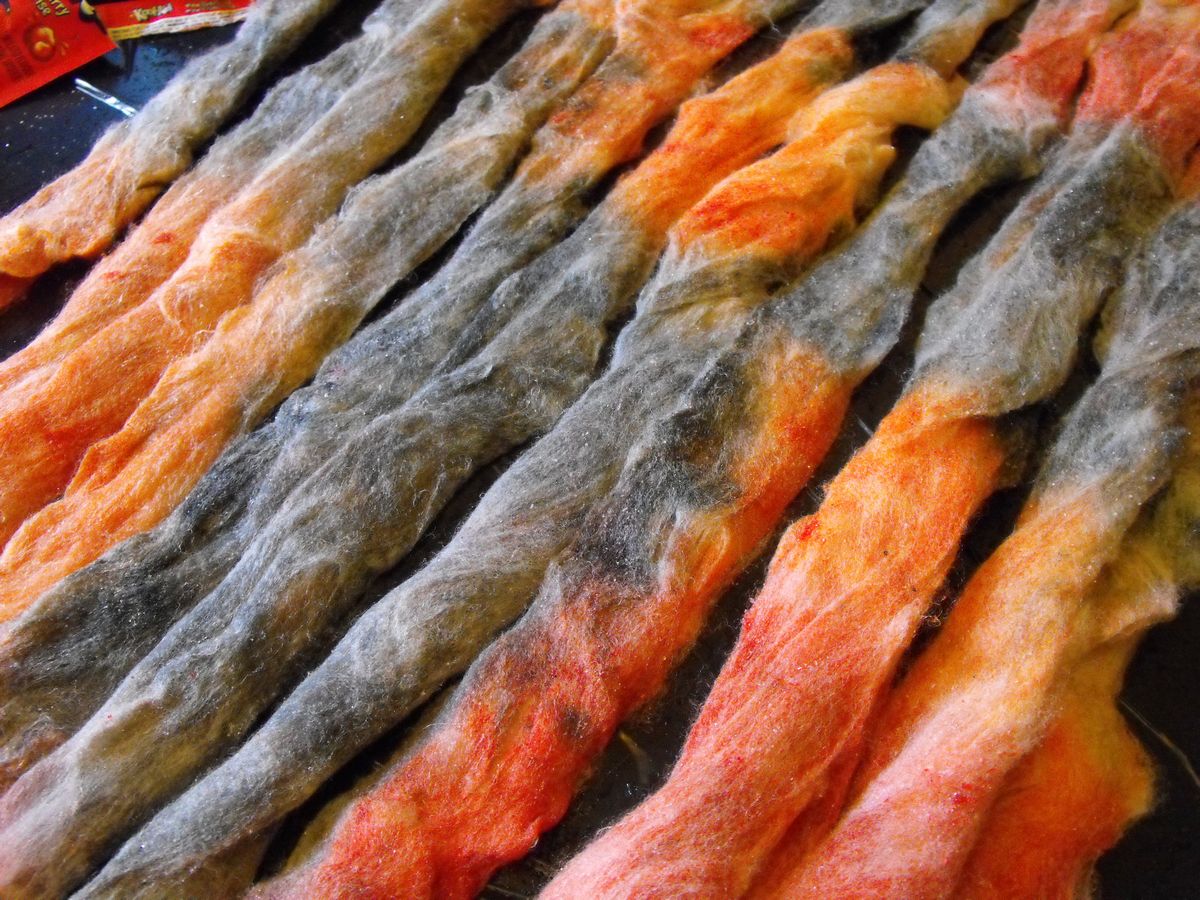
Heat the wool in your microwave safe bowl on high for approx 5 min or until the wool is completely heated through. Should be steamy when you pull it out of the microwave. 
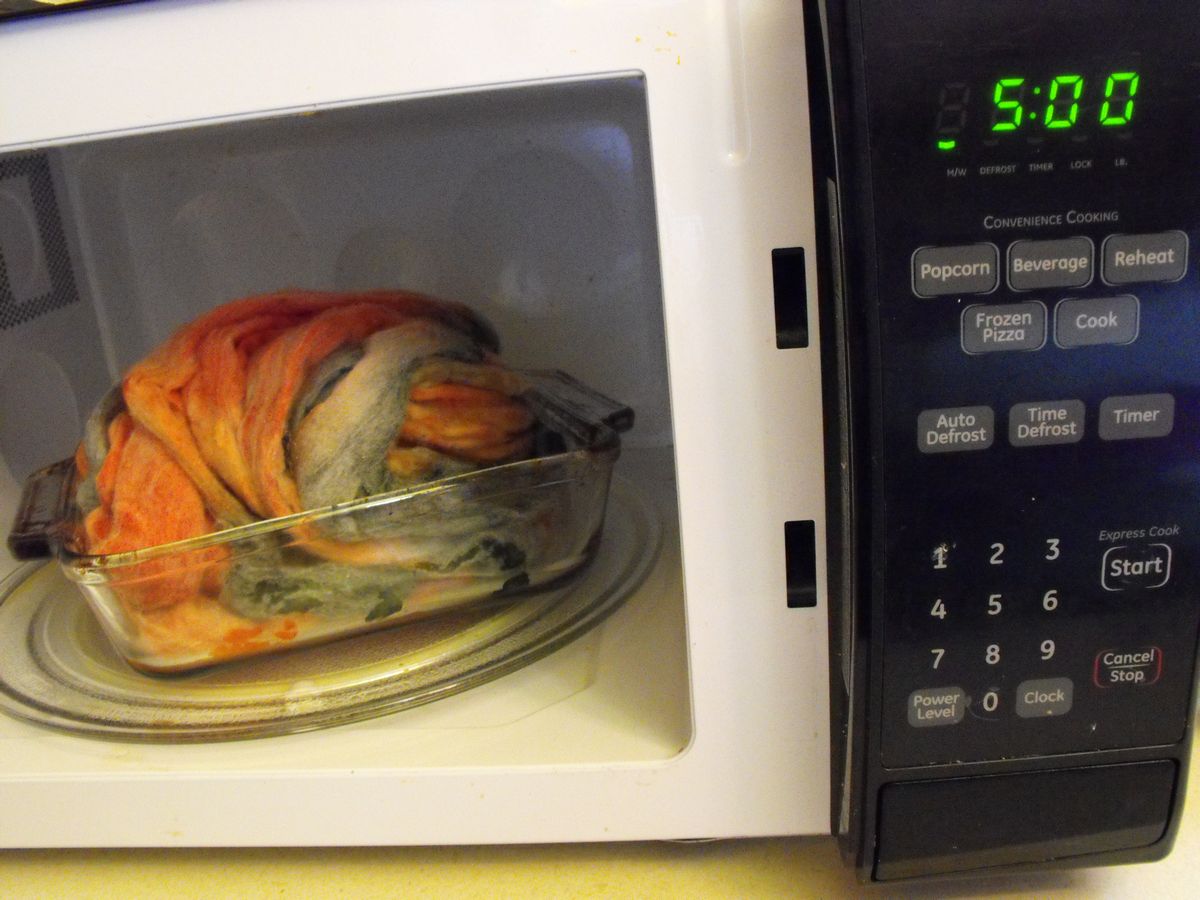


Steamin' pile of Merino
 Step 5
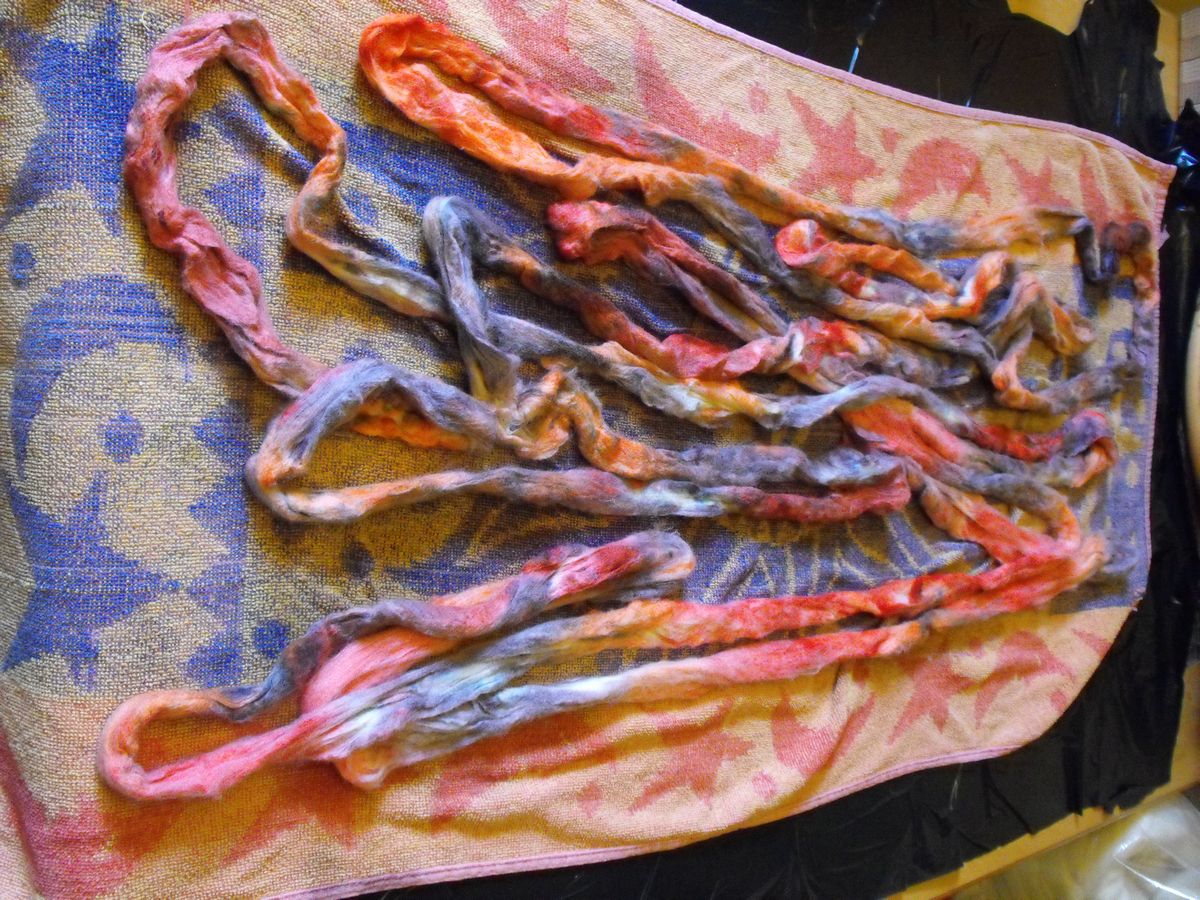
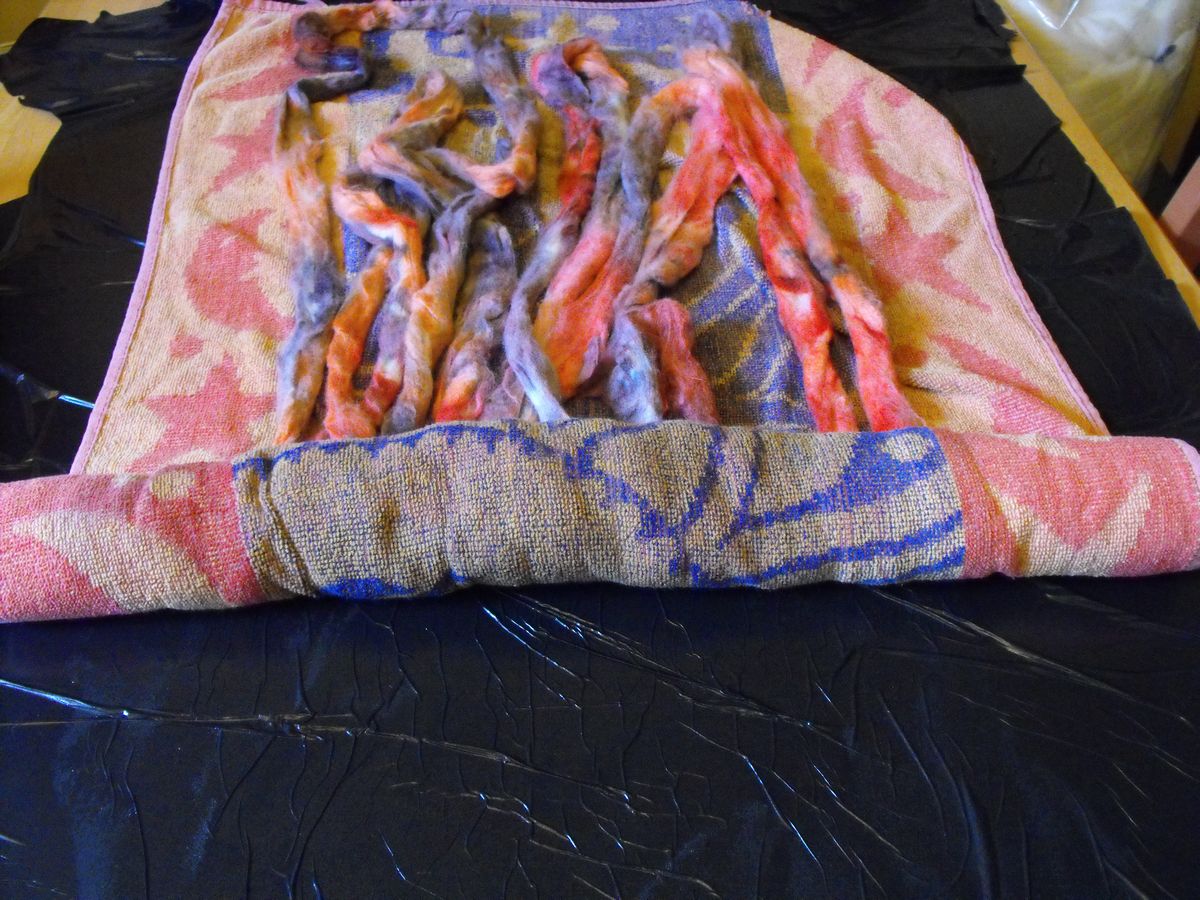
When wool has cooled enough to safely hold in your hands, squeeze out excess water into the sink. Lay out the wool as before but now onto an old towel. Not much of the dye will leak out at this time, but use an old towel just in case! Now roll in the towel and press.
Step 6
Drape wool over the plastic coat hanger and hang  on the shower curtain rod, away from fabric, and allow the wool to air dry. Open a window if possible to improve air circulation. Once in a while squeeze excess water that settles into the ends of the wool. Ready to spin when thoroughly dry!


Share your Kool Aid dyed wool with Close Knit readers by posting links in the comments below.
xxLadeeBeexx


Monday, March 21, 2011

Sit and Spin

When I need a break from making baby sweaters and booties I try to do something a little different. I learn a new skill, try to finish a project, use up some of my yarn stash to make something for a neighbour. Really, there isn't much difference between what I do for a living and what I do as a hobby-and that's the way I want it!

I acquired a spinning wheel from a friend, an Ashford Traveller with a single treadle. I didn't know anything about using a spinning wheel, but I new I wanted to find out! I did some drop spindle work, but I wanted my spinning to go faster and more sophisticated.
My very first hand spun on a drop spindle.

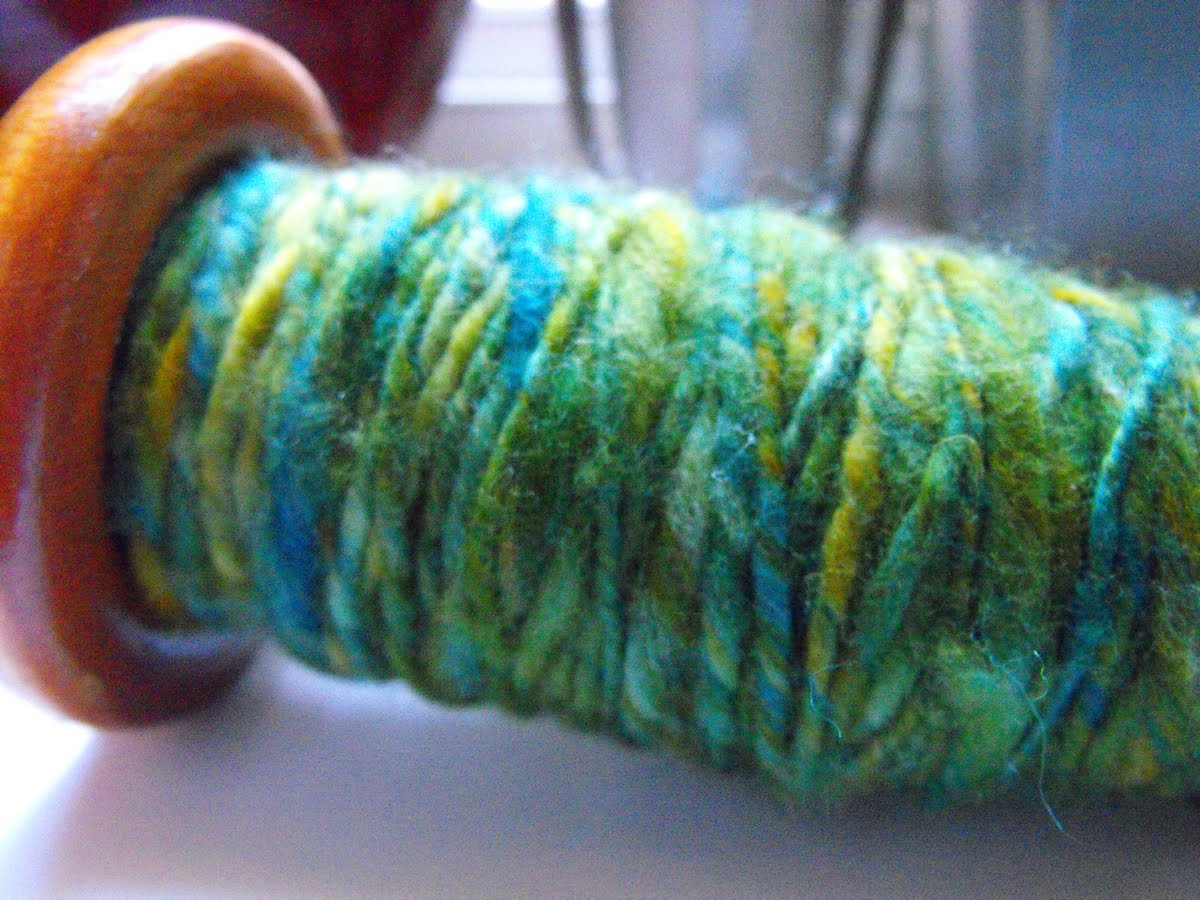
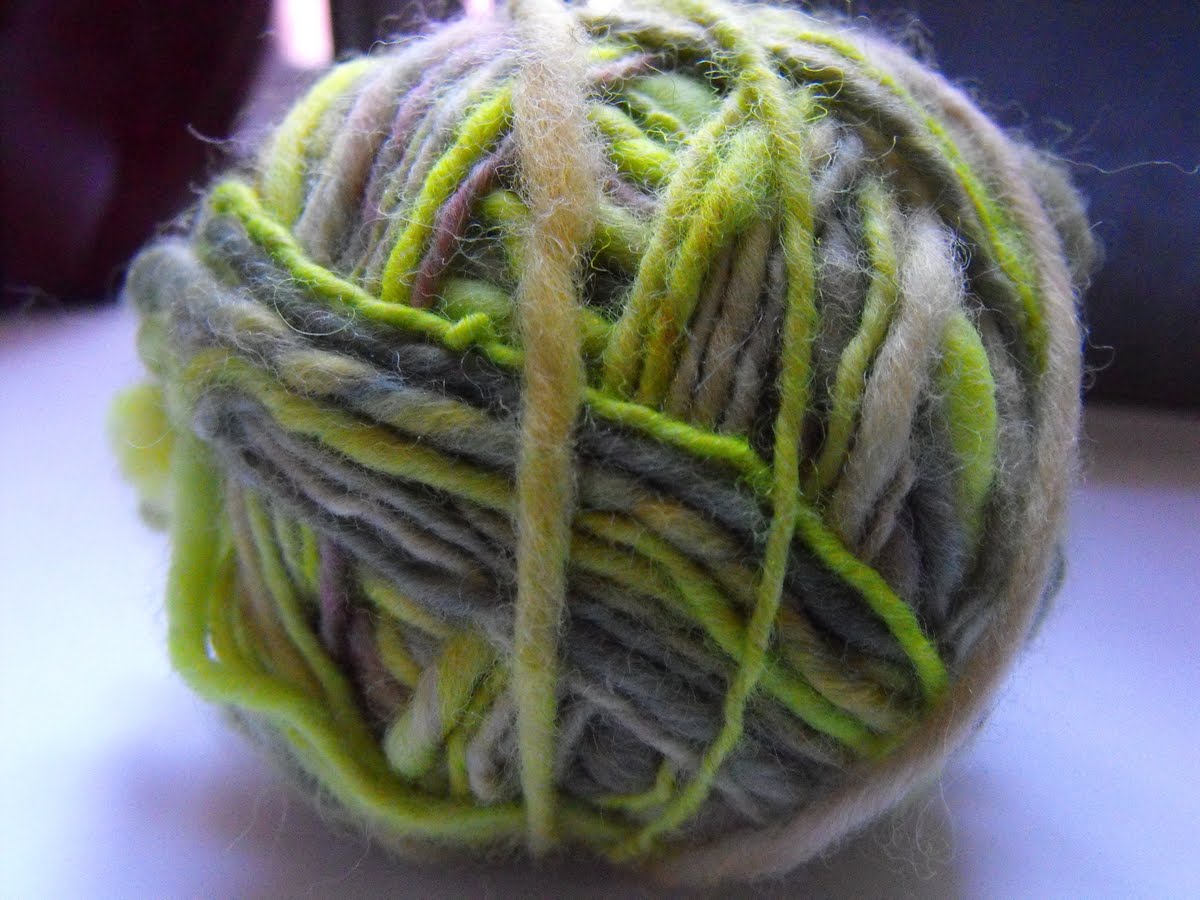
My second hand spun, I liked a little better. Plus this wool I dyed myself-that was fun!
The wheel needed some cleaning and fixing up-giving me an opportunity to really become acquainted with the parts and functions of the wheel. I've seen wheels in action before, watched videos on YouTube and seen spinners in real life, so I kinda got the gist of it. Also understanding the concept of spinning with a drop spindle and plying made a good foundation for understanding how to use the wheel.

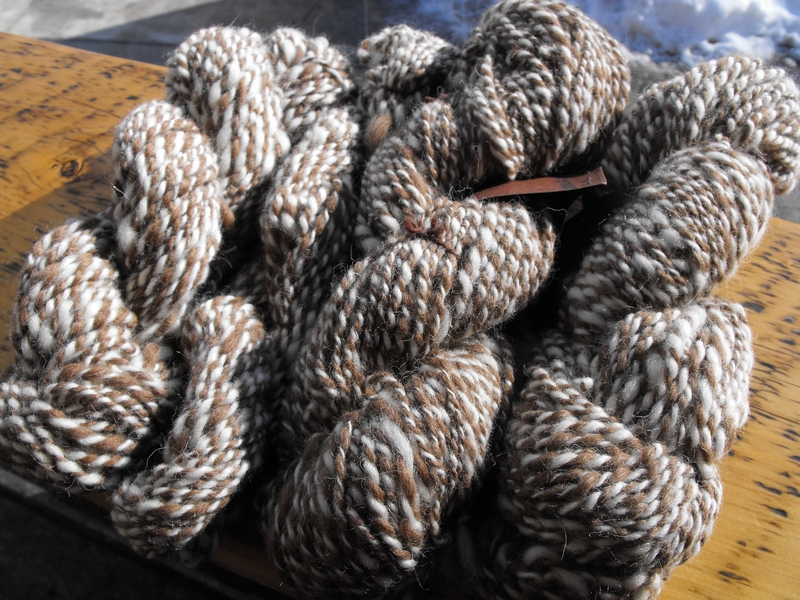
I've been practicing on my wheel and decided it was time to put some handspun up for sale in my Etsy shop, LadeeBee Supplies. One of these was the first skein of yarn to find a new home:

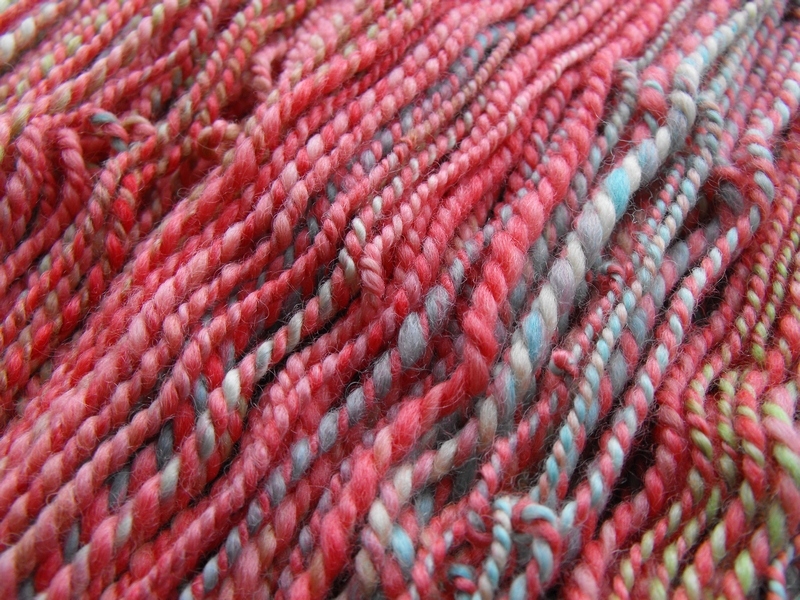
Recently I decided to try dying some wool with Kool Aid to see how that went. Here are the results:
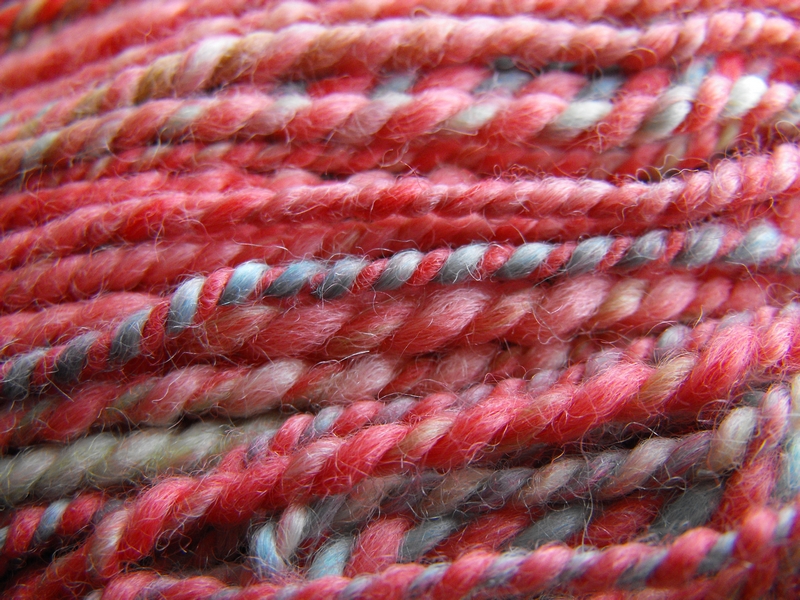
Two beautiful skeins. So fun to spin and watch the colours change, especially when I plied them together.
Plying is when you take two or more single spun yarns and spin them together - in the opposite direction.

I used cherry, strawberry, blue raspberry, and lime flavoured Kool Aid to achieve this colourway.

You can see little kinks in the yarn. That's because I didn't set the twist yet. I've gotta do one more step before its ready to knit up...
Another look at the variation in colours. 
I have to say spinning is a very enjoyable, satisfying and relaxing activity. I feel really good when I finish up a skein of gorgeous yarn. I play with if for a while and examine every part of it...kinda like examining your newborn baby. 

LinkWithin

Related Posts with Thumbnails