Showing posts with label ladeebee. Show all posts

Tuesday, September 4, 2012

Tophatter is Tops

There's a fairly new website that's making its mark as a fresh new way to shop online. Tophatter is a live auction style marketplace where sellers and buyers have an opportunity to engage one another in real time. The site opened in December 2011. I joined in January 2012 when the site was still a newborn infant. I have had the opportunity to see this start-up grow to the gawky teenager it is today.

I sell on the site as LadeeBee, offering mostly jewelry and craft supplies. I have grown a successful little business with the aid of this platform and have had lots of fun doing it! I have almost reached my 1000th sale on the site since I started selling mid February 2012.

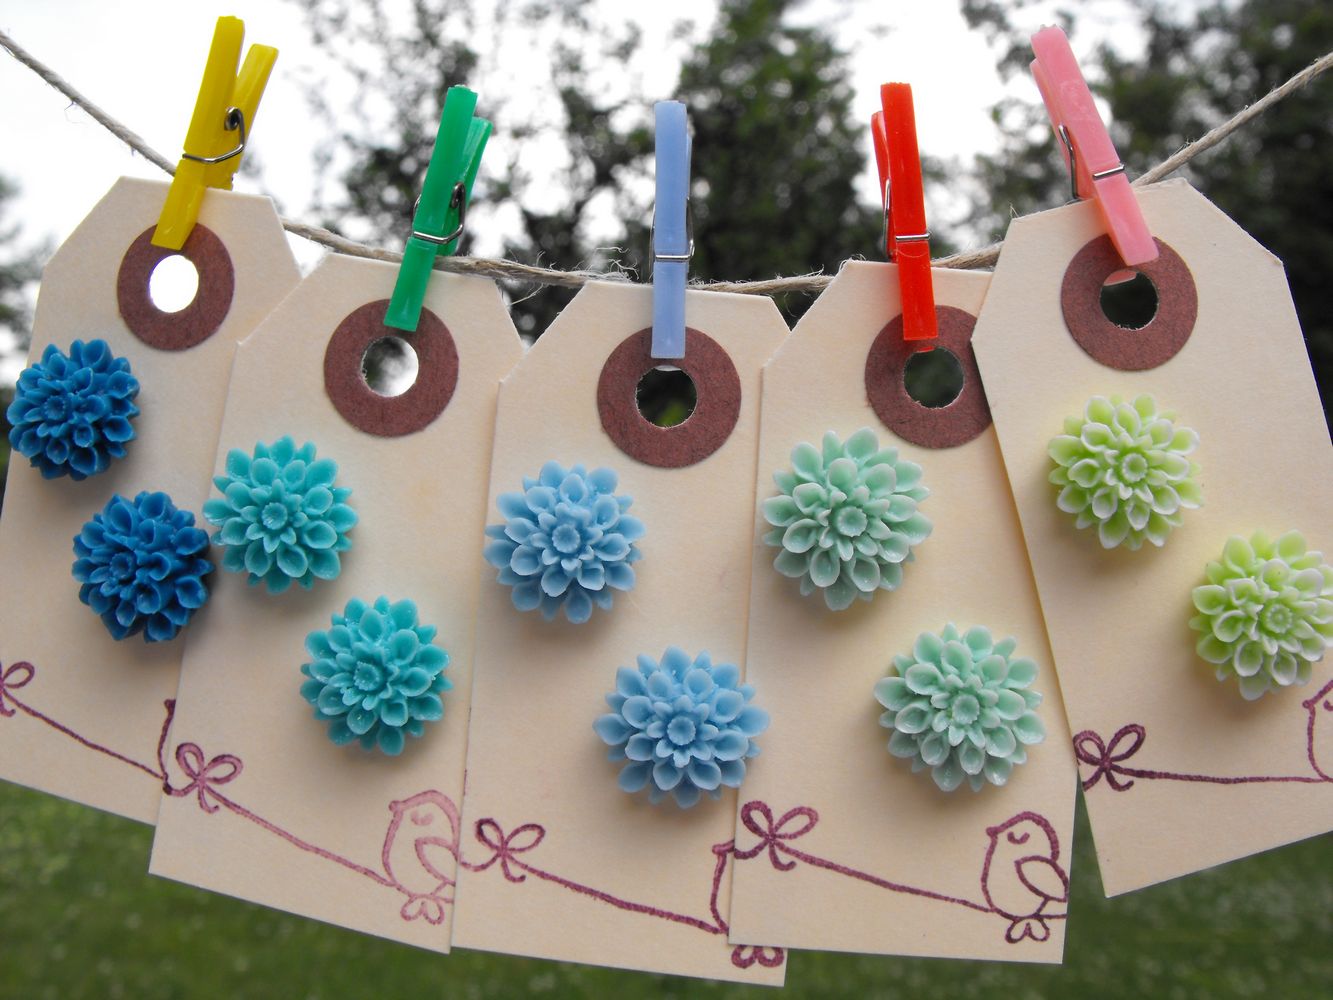
A sample of products I offer on Tophatter and in my Etsy shop, LadeeBee Supplies
Tophatter can seem a little intimidating to a new user, however there is now a video tutorial, a help button and the ability for users to chat with a staff person for live support. Also, each auction room has a chat window where you can ask other buyers and sellers for support - everyone in the community is always willing to lend a helping hand.

As a buyer I have found many unique products that I may not have otherwise found. There is also the thrill of bidding and winning your item too. Buyers are also able to choose what gets offered up for auction by placing an opening bid on items in a standby column. 

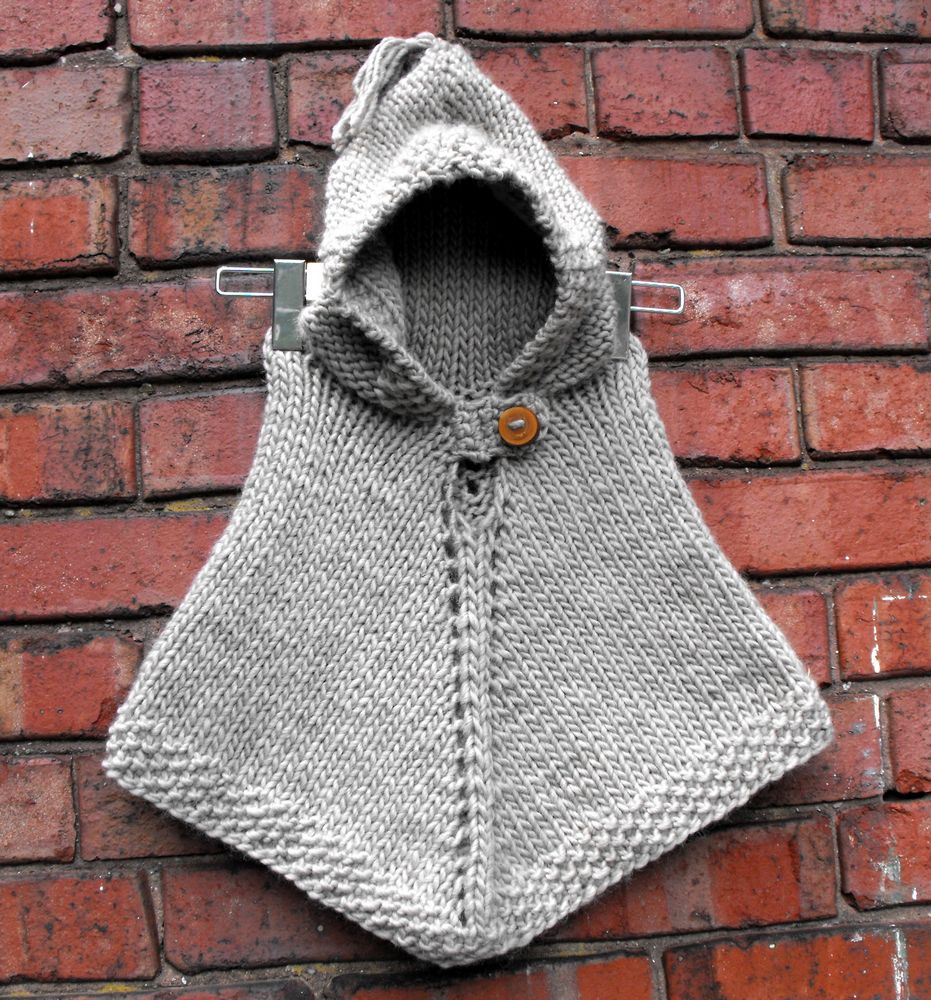
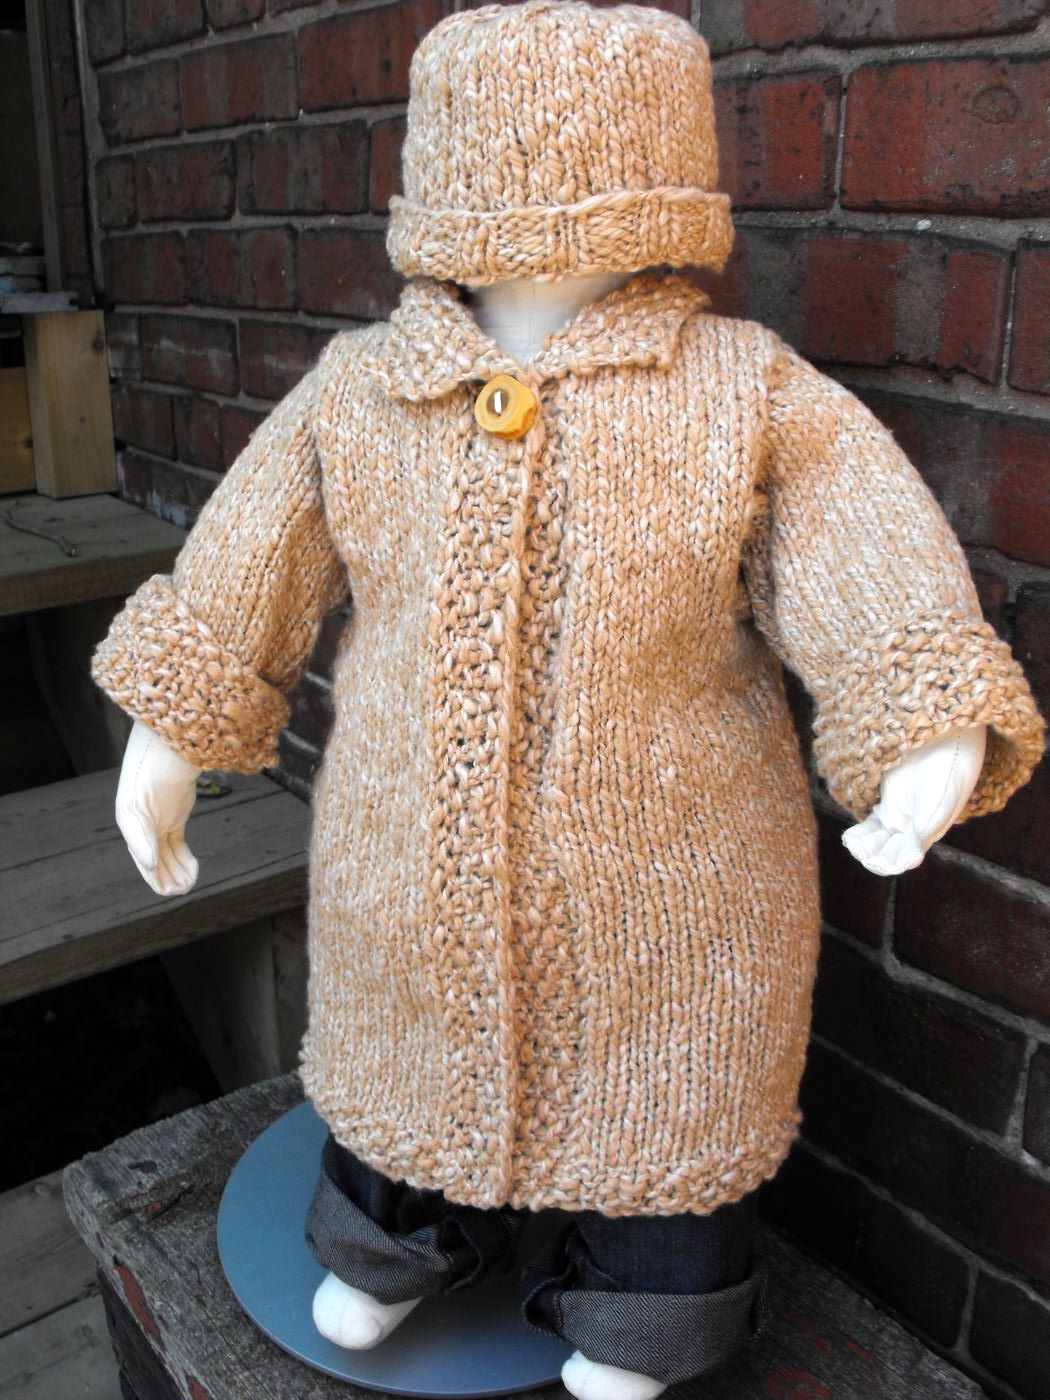
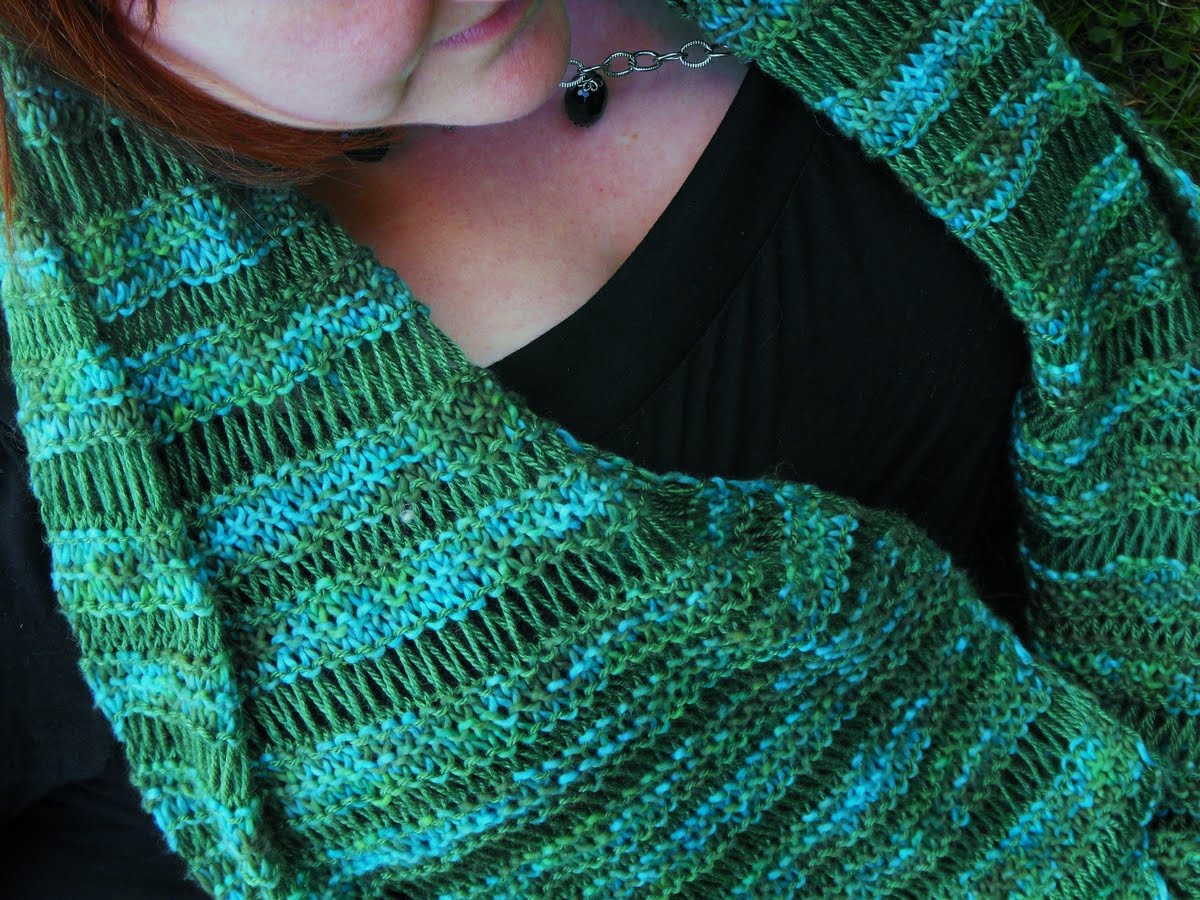
Below are examples of some unique items you can bid on in the auction rooms on Tophatter. Hope I'll see you around the auction block! Oh yeah, if you'd like me to send you an invitation just place your email in the comments section below and I'll send you an invite through Tophatter. Tophatter will give you a $5 credit to spend on anything you win over $5!


Friday, March 2, 2012

Shooting is Good for Sales

I've been selling online for a little while now and when I started out my photos were dreadful! The place I set up shop was on Etsy. I noticed products that were well photographed, I mean really well photographed. The items looked like they could leap off the screen and into my home or made me feel like I was there in the setting or wanting to be there. I felt really geeky next to so many amazing shops. I also knew I wouldn't get much attention without great shots of my product.
All of my learning has been through trial and error, imitation, and finally doing some reading on the subject. I was just getting started and couldn't afford a fancy camera. You know, a DSLR (digital single lens reflex), with the fancy lenses and buttons. Plus those cameras scared the crap out of me. There are two great entry level DSLR cameras that are pretty user friendly and low-cost (comparatively). They are the Canon Rebel and the Nikon D3000. These cameras have on board tutorials that help you select the correct settings for what you are shooting. I have yet to use either one, but I am getting close to choosing one as an upgrade from my current camera.
Ear Blooms by LadeeBee photographed with the macro setting
My current camera is a Fuji Fine PixS1000. Its kinda old and looks like a fancy camera. Its got a lens that can`t be removed but it sticks out tricking people into thinking I paid a lot for it. I paid $200CAD for it about 5 years ago. You`ve gotta put batteries in it, which sucks. I use rechargeables, but on more than one occasion my batteries have been out of juice and not ready for picture day. That`s okay if I plan better or have back-ups I wouldn`t run into that problem. So, my point is with my crappy little camera I can take some pretty decent pictures.
Ear Blooms by LadeeBee
photographed with the micro setting

Here is what you need to take great product shots:
1. A digital camera with a macro and micro button (it looks like a little flower). The macro and micro settings are for taking close ups of your subject. You can have a very detailed, in focus photo using these.
2. Natural light. Outside is best, but next to a window is good too. Slightly overcast works best as it minimizes shadows, which you are trying to control. Full sun is terrible for our purposes.
3. A light box is helpful. You can find out how to make one yourself with a cardboard box and a few sheets of white paper.Click here for a great tutorial.
4. Props. If you sell little items, like jewelry, you can use scrap book paper (like I did in the photo above) or a piece of fabric as the background. Put some effort into it and get creative. For an all white background a simple blank sheet of printer paper will do because it has no wrinkles. I used a white countertop for the photo below.
Japanese Paper on Glass Pendant with 22`` chain by LadeeBee
I could edit this photo further if I knew a little something about Photoshop, but that`s another story. For now I am happy with this. 
5. A simple photo editing program. I like to use Picasa. I click on the wand icon to make automatic adjustments and then play around with the sliding settings for highlights, shadows, fill light, and colour. I try to make sure the colour of the item looks as accurate as possible. Usually I judge by the background first.

Take lots and lots of pictures and practice A LOT. I have taken thousands of photos to figure out what works best. Take 10-20 shots then have a look at them on your computer before continuing. I have made the mistake of thinking I was taking shots that were good enough and I could brighten them with a little editing, but it turned out they were all duds and I had to do the photo shoot all over again.

Got tips? Share them below.

Monday, July 11, 2011

Life as a Full-Time Crafter

Feel I owe you an explanation as to my whereabouts over the last little while. If you follow me on Twitter you'll know I haven't been far away. After about a month of not posting anything on my blog I have been thinking about how neglectful I've been of Close Knit almost daily. Well, I can finally be guilt-free!

About two years ago I quit my job and began working for myself. I haven't got savings or lots of credit, but I have managed to make it work. My partner has a job, not fantastic pay, but he can manage the rent (phew). Crafting for a living is tricky, so I have to wear a lot of hats to make it work. I teach crafty workshops, participate in the odd craft show, do two major craft shows per year, provide childcare for some families in my neighbourhood, keep two online shops, and work at a craft market up the street from my house. It is crazy busy and it means I essentially work all the time - no complaints, I LOVE what I do!

Being a childcare provider is a skill I carry with me from my experience in the workforce. I studied Early Childhood Education and have my degree in psychology. I am intrigued by infants and young children and I am very good with them. I spend snippets of time here and there throughout my week happily getting my baby fix, riding bikes with preschoolers, and crafting with the very young.

My two shops are LadeeBee Supplies and Vintage Baby Revival. LadeeBee is vintage buttons, handspun yarn, and lately a little bit of cheerful jewelry. Vintage Baby focuses on knits for kids 0-4 and knit scarves for women. Running a shop involves photography, listings, updating, promoting, and hopefully filling orders.
Dahlia Ear Blooms
Available at LadeeBee Supplies
LadeeBee Supplies is a like a hobby for me. My hobby is very similar to my actual work. I love to make new things, try new things and test them out on the market. The above Dahlia Ear Blooms have been my latest success. Vintage Baby Revival represents work that has evolved over time into a line of high-end knits for young ones that I am really proud of. 

Hand Knit Wool Poncho
Available at Vintage Baby Revival and the One of a Kind Show and Sale in Toronto

Organic Cotton Tunic and Matching Hat
In addition to my crafty work I have a 15 year old son. He is a wonderful person and I am always inspired by his energetic youth. People think I was a baby when I had my son because I may look younger than I am, but I was 19 (not a baby, but close).
Niagara Falls '08
My home is dusty (from all that fibre!) and chaotically organised. Just about every inch of my home has got one of my projects in various stages of completion (my poor family!). Also, I've got furniture for my big show at the One of a Kind, props, inventory and the like stored in all locations of my two bedroom apartment. 

So that is what I have been up to and that's a bit of what life is like as a full-time crafter. I am bound to drop a ball here and there, but I'll always pick 'em up!


Monday, May 3, 2010

Athabasca Spring Scarf Knitting Pattern


This lightweight spring/summer scarf is named for the Athabasca River, which can be seen clearly from the air as one arrives to the well-known oil town, Fort McMurray, Alberta. I began knitting this scarf just before my journey up to the northern Alberta town and completed it while there visiting my mother. The colours that appear in these sumptuous yarns remind me of hues of green and blue that can be seen from the airplane window high above the town. It is beautifully stunning countryside!

Materials
Yarn A: 1 skein of Punta Cotton Hand Paint  Colour Hp10 (100 % cotton/ 214 meters, 235 yards/ 100 grams)
Yarn B: 1 skein of Nuna by Mirasol Shade 1017 (40% wool, 40% silk, 20% bamboo/175 meters, 191 yards/ 50 grams) 
1 pair of 6mm knitting needles


Notes
This pattern is really all about the yarn. If you choose beautiful yarns, your scarf will look amazing! This pattern is very simple and is great for beginners or experienced knitters that want a great pattern to sit and relax with.
Yarn B will be carried along the side when you knit the rows of yarn A. Just simply wrap A and B around one another when you carry B so that yarn B is hugged more tightly to the edge of the scarf thus diminishing the appearance of a loop.

Instructions
With A CO 47 sts
Row 1-3: k
Row 4: With B *k1, yo twice, k1* repeat to end
Row 5: continuing with B *k1, slip 2 yo off needle, k1* repeat to end
Row 6-9: with A k 4 rows
Row 10: with B *k1, yo, k1* repeat to end
Row 11: continuing with B *k1, slip yo off needle, k1* repeat to end
Repeat Rows 1-11 until your yarn is nearly finished. End with 3 knit rows in yarn A. BO loosely and weave in ends.


Monday, March 8, 2010

Did You Know That You Can Zibbet?


What is Zibbet? It is a new marketplace to sell your handmade goods online. Currently this rad new site is in its infancy and this is just the perfect time to get in on it. I find Zibbet to be an incredible place to sell my buttons and I was able to take advantage of a great promotion on a premium account. For $7/month I get unlimited listings and no commission is taken on my sales. You can stock up your shop without any fear of what's to come when you open your bill at the end of the month, it is always the same! Also, the team at Zibbet is really tuned in to what the sellers want and work hard to meet those needs so your shop can be all you want it to be. Grab a premium account for yourself while it is still $7/ month because in a couple of weeks it is going up to $15/month.

Tuesday, December 9, 2008

Skinny Scarf Pattern for Learn to Knit Kit by LadeeBee


This pattern can used with any yarn and needles as long as you are pairing up the right needles with your yarn. Go to your LYS (local yarn shop) if you do not have the Learn to Knit Kit by LadeeBee to find your needles and yarn.

This is a suggested pattern to accompany the kit, but you can choose to do anything you like! Freeform knitting can be fun and you may discover interesting designs as you alternate between knit and purl. But if you feel like you need to make something functional, a scarf is the perfect project for any beginner. 

"Skinny Scarf"

Materials
  • Yarn A
  • Yarn B (alternate colour if your kit came with more that one colour)
  • knitting needles (included in kit, appropriate for the balls of yarn included)
  • yarn needle
  • scissors
Abbreviations

k: knit CO: cast on patt: pattern
p: purl rep: repeat BO: bind off

Pattern

CO 20 stitches with Yarn A
Row 1: k2, p2, rep. until end of row. turn work.
Row 2-10: repeat row 1
Row 11: switch to Yarn B, or continue with same. Note: cut yarn leaving 2" tail, join new yarn by tying a knot as close to the stitch as possible. You will weave in the ends later using a yarn needle.  k2, p2 rep. until end of row. turn work.
Row 12-20: continue in k2, p2 patt. using yarn B (or same).
Repeat last 20 rows until you have approx. 20" or yarn left. BO, weave in ends.

Garment Care

machine wash, cold water, lay flat to dry.

Questions or Comments?
I invite you to post them here.

Good Luck with your knitting adventures!
--LadeeBee

LinkWithin

Related Posts with Thumbnails